This is currently a work in progress and I’ll be updating as it progresses.
NanoVNA – I have a lot of test equipment and it ends up all over the place. Initially I just wanted to get a box to keep it all in but as usual the project grew into something more.
The first piece of gear is the NanoVNA. I’ve posted about it before but for this post purpose the NanoVNA is a handheld Vector Network Analyzer (VNA). What’s amazing about it is that it’s very low cost, around $30 for the 2.8″ screen version to the top end H4 version with the 4.3″ screen version for around $100. It’s amazing to be able to get a piece of test gear like this as in the past a VNA would run thousands of dollars.

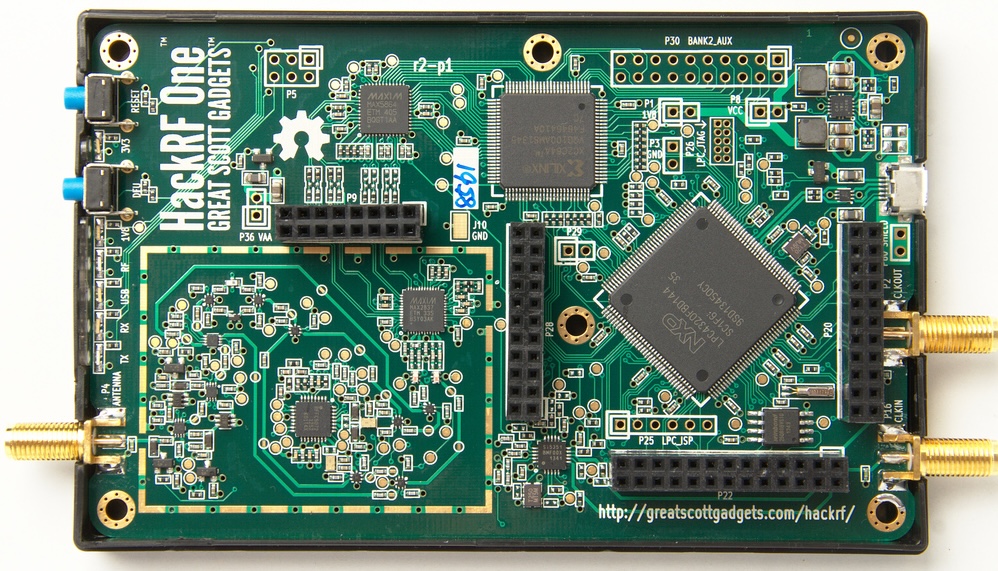
HackRF One – the next piece of test equipment I was going to purchase was the TinySA which is a spectrum analyzer. However after a lot of research it seemed that the HackRF One could do what the TinySA does and so much more.
The HackRF One is a Software Defined Radio peripheral capable of transmission or reception of radio signals from 1 MHz to 6 GHz. Designed to enable test and development of modern and next generation radio technologies, HackRF One is an open source hardware platform that can be used as a USB peripheral or programmed for stand-alone operation.
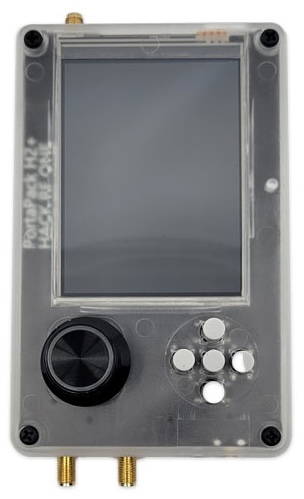
The PortaPack H2 attaches to your HackRF and adds a touchscreen display, navigation controls, headphone jack, a real-time clock, and micro SD card slot and a battery. This make the HackRF a truly portable piece of equipment.
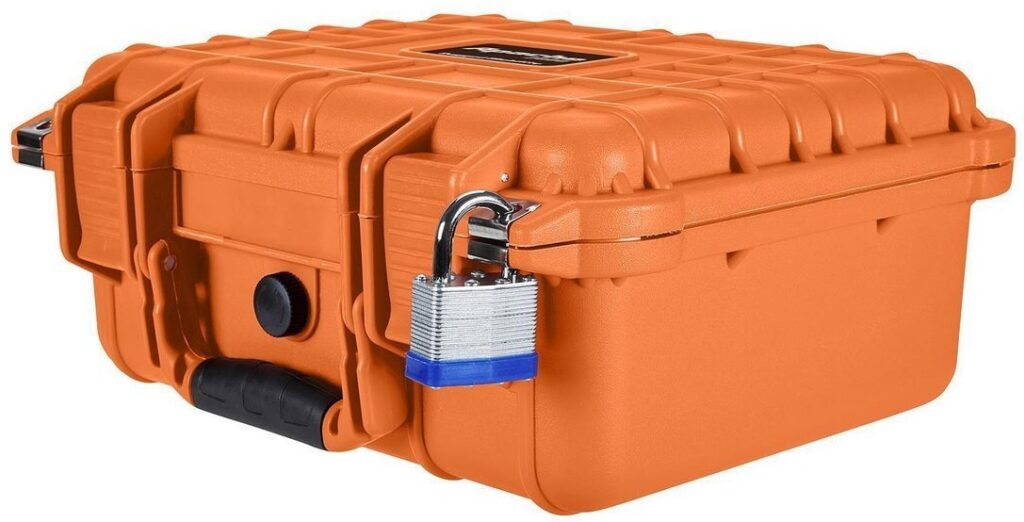
In addition to these two devices you need a number of different attachments such as adaptors, antennas, etc. This lead me to wanting to pick up a bag or case to carry all this around. So I picked up an Apache hard case.
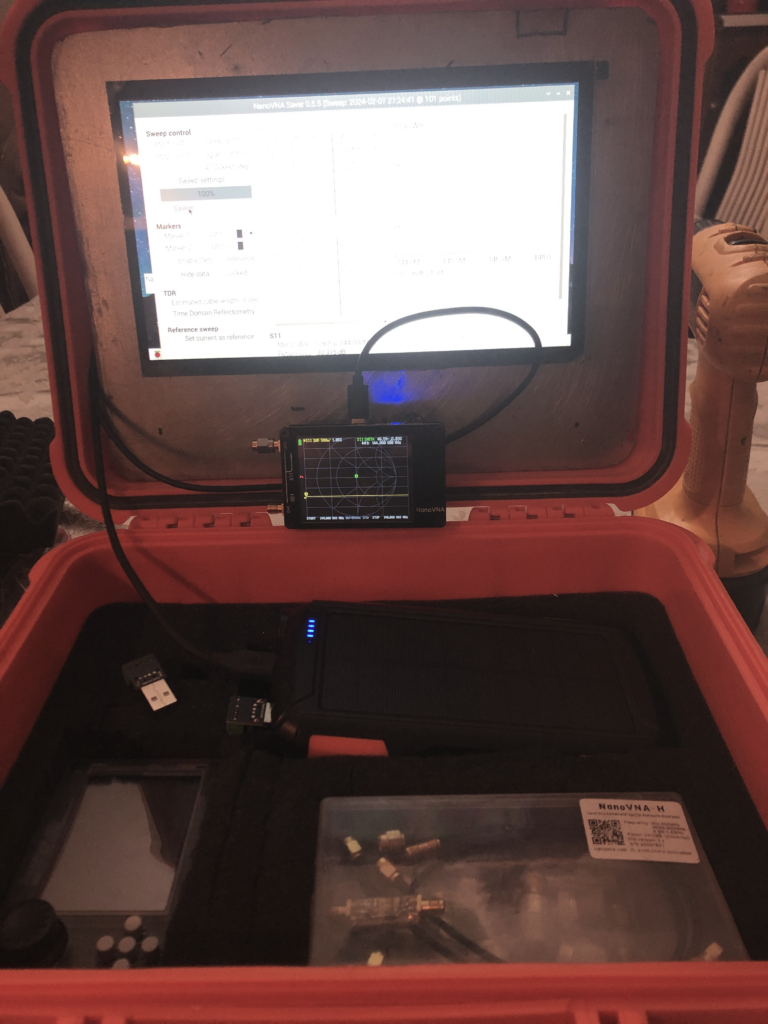
This worked out really well but one thing I find is that I almost always prefer to use the NanoVNA with VNA Saver software. In addition both the HackRF/PortaPack and NanoVNA also need occasional software/firmware updates. Finally like with the NanoVNA, there is a great deal of software that runs on a computer that extends the function of the HackRF. All the software I wanted runs on Linux so I opted to add a Raspberry Pi to the mix.
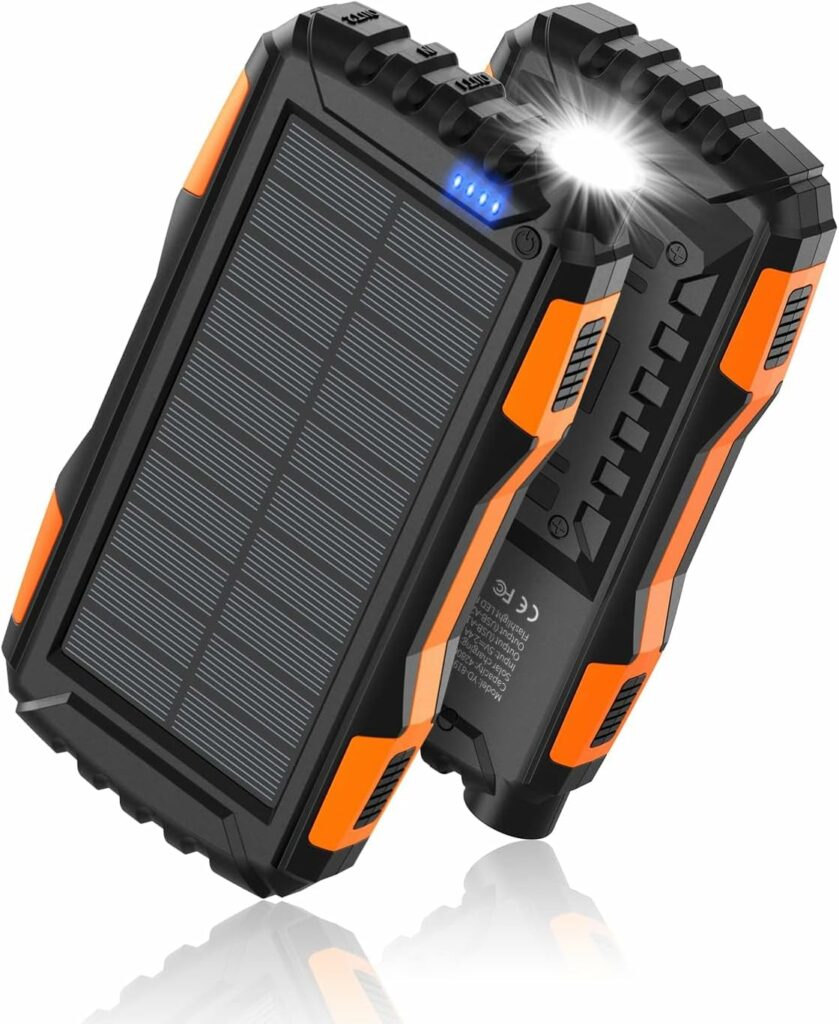
So the first thing needed is was to add power. I found a 42800mAh solar chargeable power bank that puts put 5V at 3.1A with Qc 3.0 Fast Charging. I got it in orange to match the case. It has two regular USB ports and a USB C port.
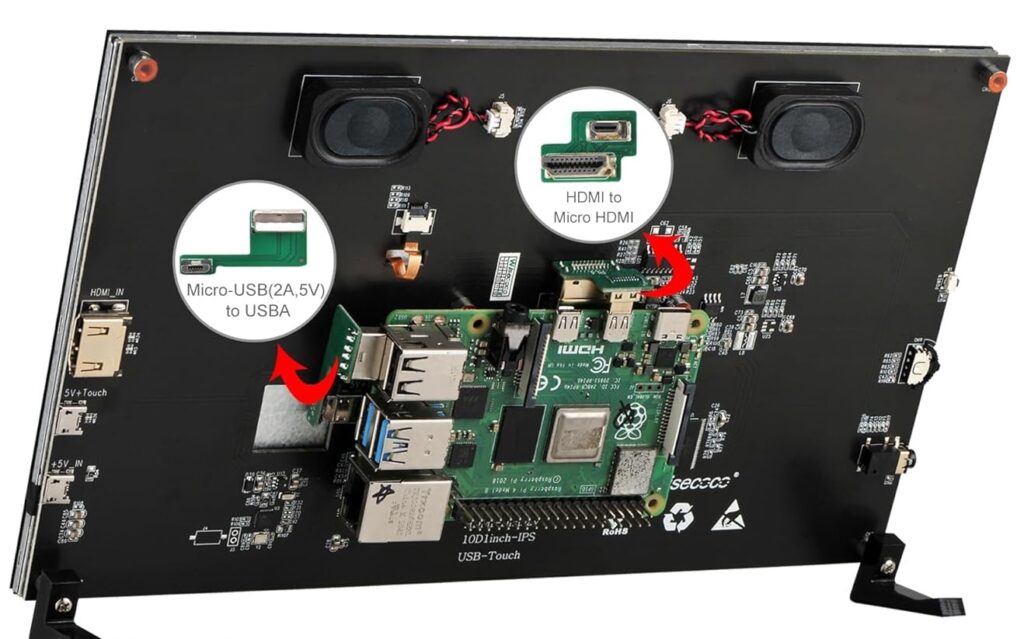
Finally I needed a display. I found an OSD 10.1″ LCD touch screen that you can mount the Pi directly to so there are no cables. This is really neat and greatly cuts down on the cabling. It also has the added benefit of speakers so I run the HackRF as an SDR receiver.
So with all the parts it’s time to start putting it all together. The first thing was to get the Pi all set up. I looked around and found a distro called PiSDR which is a Raspbian based operating system for the Pi pre-loaded with multiple Software Defined Radio software programs. Specifically I wanted SDRangel which supports both receive and transmit on the HackRF One. So I got to installing in on a new Pi 4 that I had purchased as a spare. The install went fine and it recognized the HackRF One. But SDRangel had some random lockups and did not run well. So I decided to recompile it from source. This is a big job on due to all the requirements, plug ins and device support. It failed miserably a number of times until I figured out that the compiling process was consuming a lot of RAM. I ended up having to create an extra 2 GB of swap space in order for it to be able to complete. I then started the process of compiling NanoVNA Saver. I quickly learned that the lates version used QT6 which has not yet been ported to the Pi OS. It seems goes for all 0.6.x versions. So I grabbed the last 5 version 0.5.5 (released 5/23) and was able to get it compiled with no issue.
Update: I got everything installed and running great. However I found that the display was pretty tight to run the programs that I wanted. I have a Surface laptop that I recently decommissioned from the shack and am going to use that for the HackRF and NanoVNA software instead. Since the Surface can operate like a tablet it will accomplish what I was trying to do here better. Besides I have a new project I need the screen and Pi for so stay tuned!